
One of my clients needed a solution to automatically add the caption under the featured image on the blog post using Elegant Themes Extra theme. He was using a work around by manually adding the caption under the image in the WordPress editor. But sometimes he will forget to add it and needed to log back in and add the caption. So he asked if there is a way the caption is automatically added. For some websites this is not necessary, but for his content, he needed to add attribution to photo contributors.
This is based on a tutorial for Divi Theme by Divimundo but modified for Extra Theme. I published this post in 2021, retested in 2023, and rechecked April 2025, steps are still the same.
Before you begin
- Create an Extra child theme – You will be editing one of the templates and uploading to your child theme’s folder. While technically you can edit the files in Extra, this is not ideal since if you update the parent theme, your edit will be gone and have to do it again.
- File Transfer Protocol (FTP) to download your theme file – Typically hosting providers give their clients a way to access the files in File Manager in cPanel. There is a WordPress plugin called WP File Manager you can install so you can access your theme files.
- Text editor to edit the downloaded file– You can use Notepad or TextEdit on the Mac but I suggest to use a program like Visual Studio Code because it’s way easier to sort through the code and see missing curly brackets, quotes. I once spent hours trying to figure out why something was breaking only to realize I used a colon instead of a semicolon. ¯_(ツ)_/¯
Steps for editing the template file
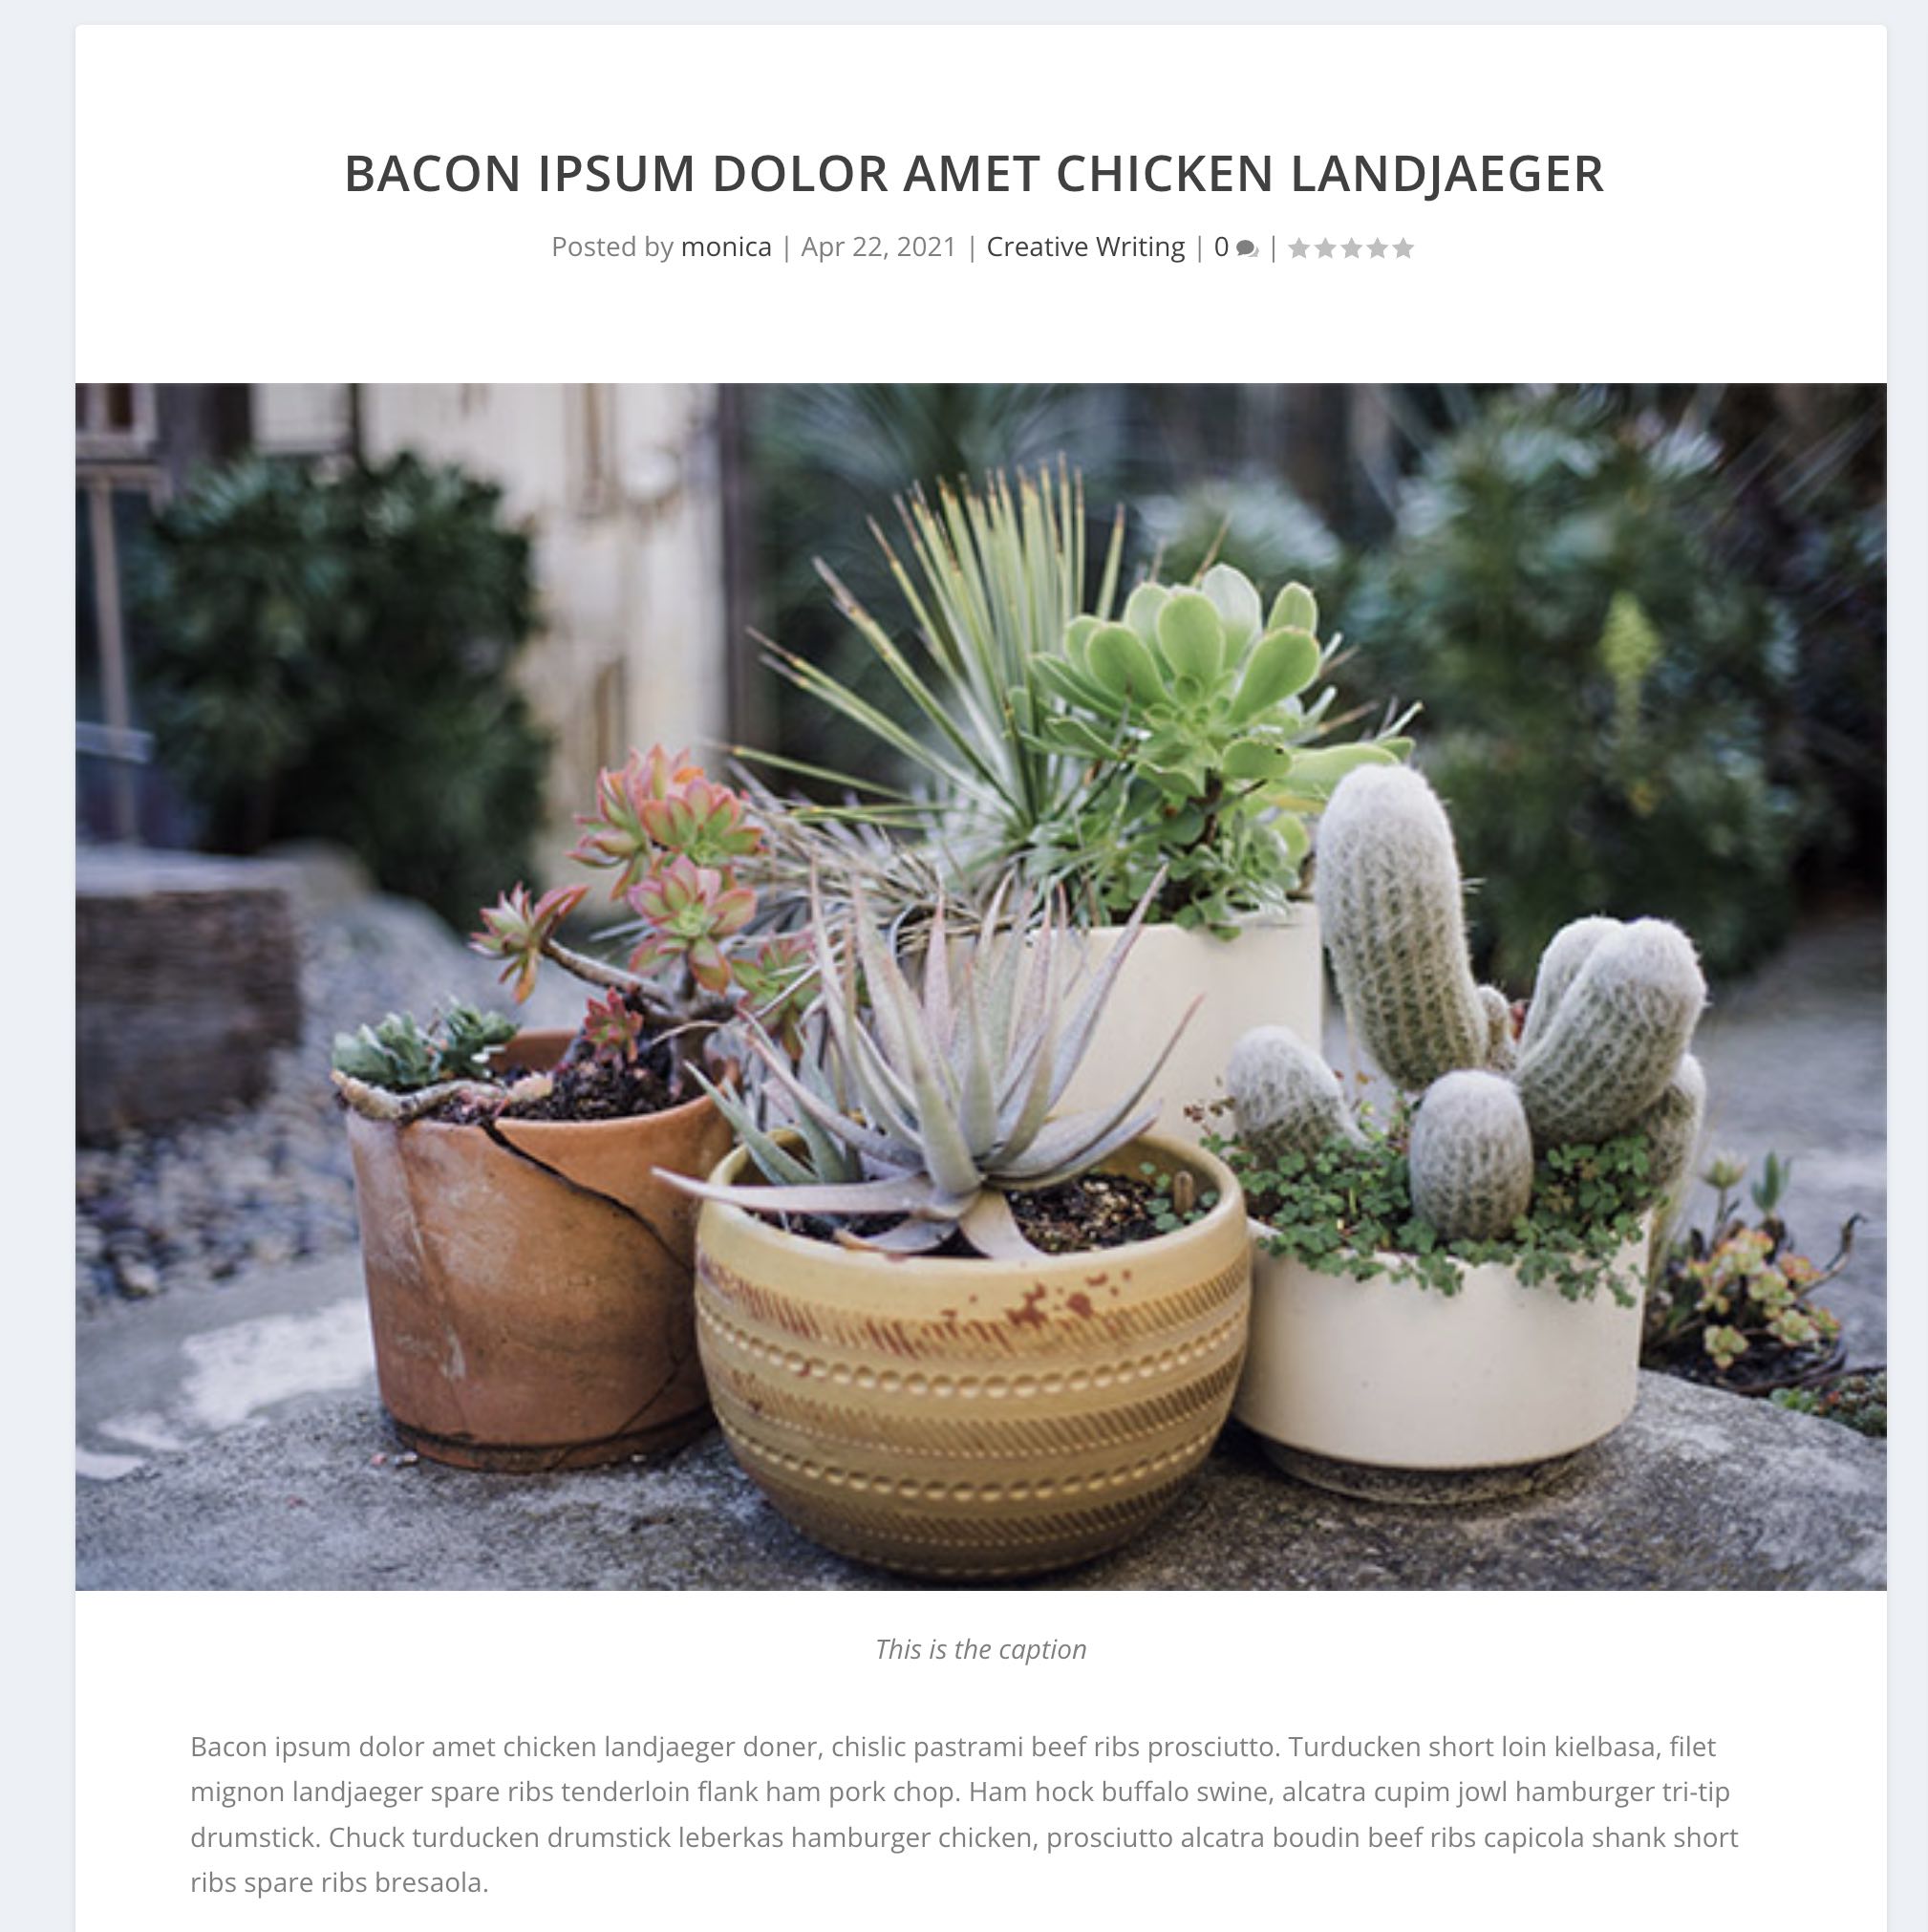
- Create a post and add featured image. Make sure the image you are using has text in the caption box. You can add your caption in WordPress Media Library in your admin. Find your image, open it and add the text in the Caption box.
- Find your WordPress theme files. Your files are in your web hosting’s server. Login your web hosting provider and find your WordPress files. Most web hosting providers use cPanel.
- Open cPanel and locate File Manager. Typically the files will in a folder called public_html. Inside you will find wp-content > themes > Extra folder.
- Locate the file single-post.php. Copy this file and paste inside the folder of your child theme.
- You will edit this file’s code or download this file and open in your text editor.
- Locate Line 48- this will be a closing div tag
- In Line 49 add this code. You don’t need enclosing div tags and just enter the php code. But having a div tag around it, you can assign a class so you can style the caption later. In my example I added the class “custom-caption.”
- Save it and upload in child theme folder. This file will inside your child theme will override the file in your parent theme (Extra).
- Done! Refresh the page and take a look at post page and you should see the caption under the image.
<div class="custom_caption">
	<?php echo get_post(get_post_thumbnail_id())->post_excerpt; ?>
</div>

Steps for adding CSS to the caption
- On your WordPress admin, go to Extra > Theme Options.
- Enter the CSS to style the caption for the class name you entered in the single-post.php file. Remember to add comment in there to remind yourself what these CSS lines are for.
/*caption style under featured image*/
.custom_caption {
   padding: 0px 15%;
   margin-top: -2%;
   text-align: center;
   font-style: italic;
   line-height: 1.3em;
}
That’s it! You’re done. 🙂